How We Manage i18n at Scale: POEditor × GitHub Workflow
by Hsuan Huang
This document explains how to add, modify, and save translations on the POEditor translation management platform, as well as how to sync these translations locally after saving, and what happens in between.
I think the key point may lie at the beginning and the end — the considerations for choosing POEditor and the impacts it brings, as well as how we handle on the Git side. The middle sections only putlines the steps for using POEditor, also serves as a brief record of my work.
Why ?
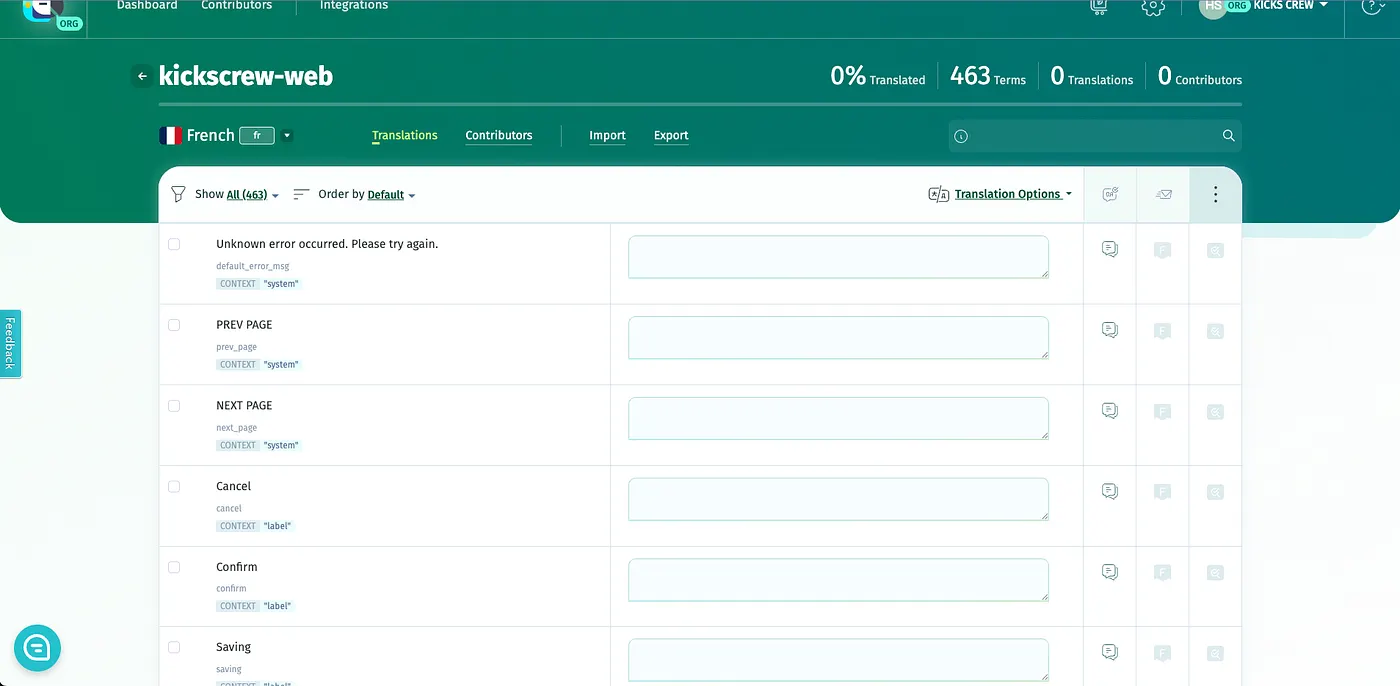
In the past, updates were made directly in files like locales/en/common.json (taking English as an example—typically, there’s one file per language under the locales folder). However, this approach made it impossible to outsource translation work and required constant codebase changes. With many files to manage, even updating a single translation string meant checking each related file one by one.
The reasons for using POEditor :
- The project has multi-language needs (10+ languages).
- Translations are maintained by product or translation team, not developers.
- The team needs to collaborate or outsource translation work.
Preparation
Once you receive the invitation email, just click the link to activate your account. After logging into POEditor, the rest — such as integrating with GitHub and uploading the latest JSON translation files — has already been completed. These steps shouldn’t need to be repeated in the future.
POEditor ✨
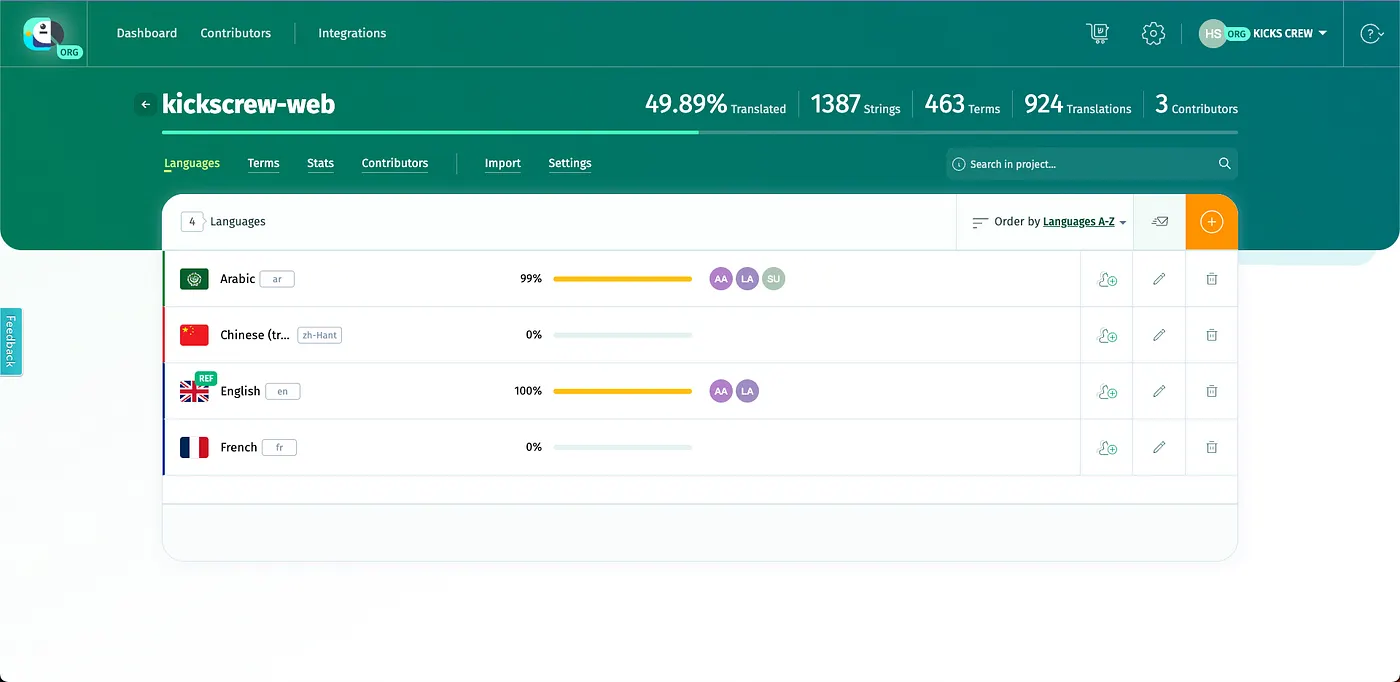
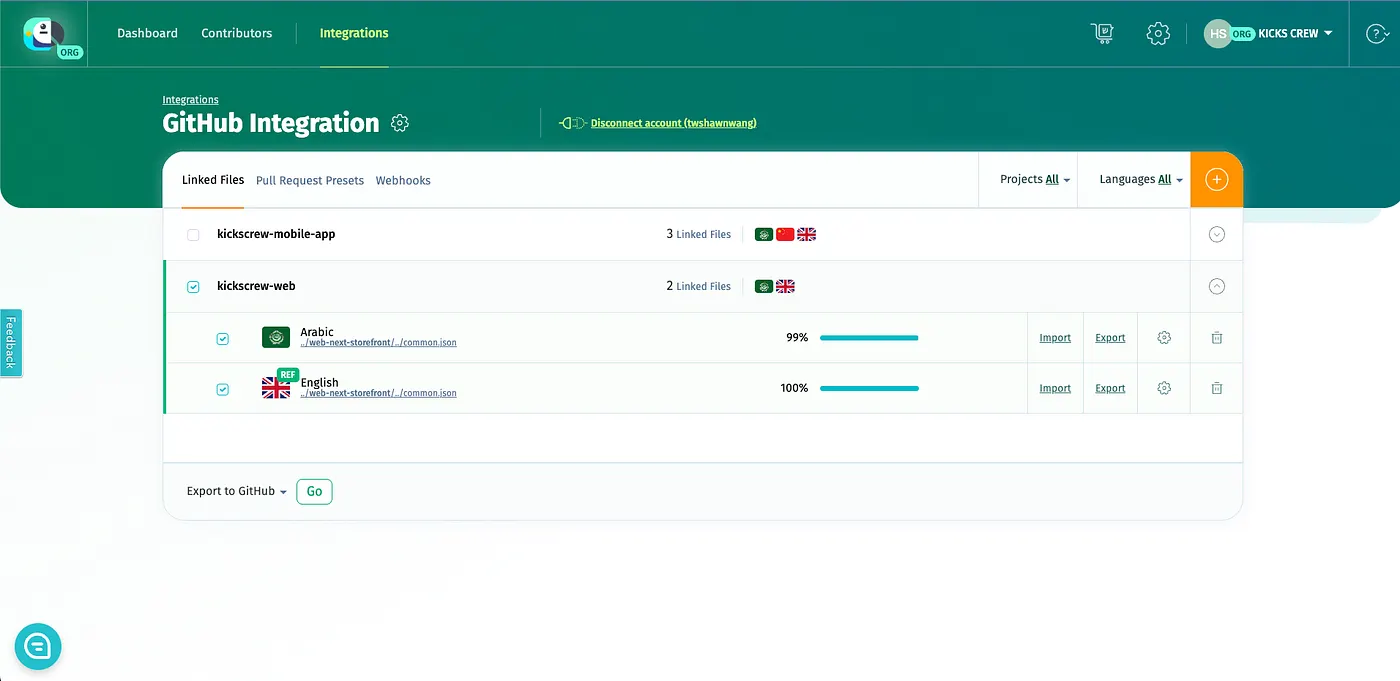
When you log in, you’ll see that there are currently four languages. Only Arabic and English have been translated so far. To add more languages, click the yellow + button in the top-right corner.
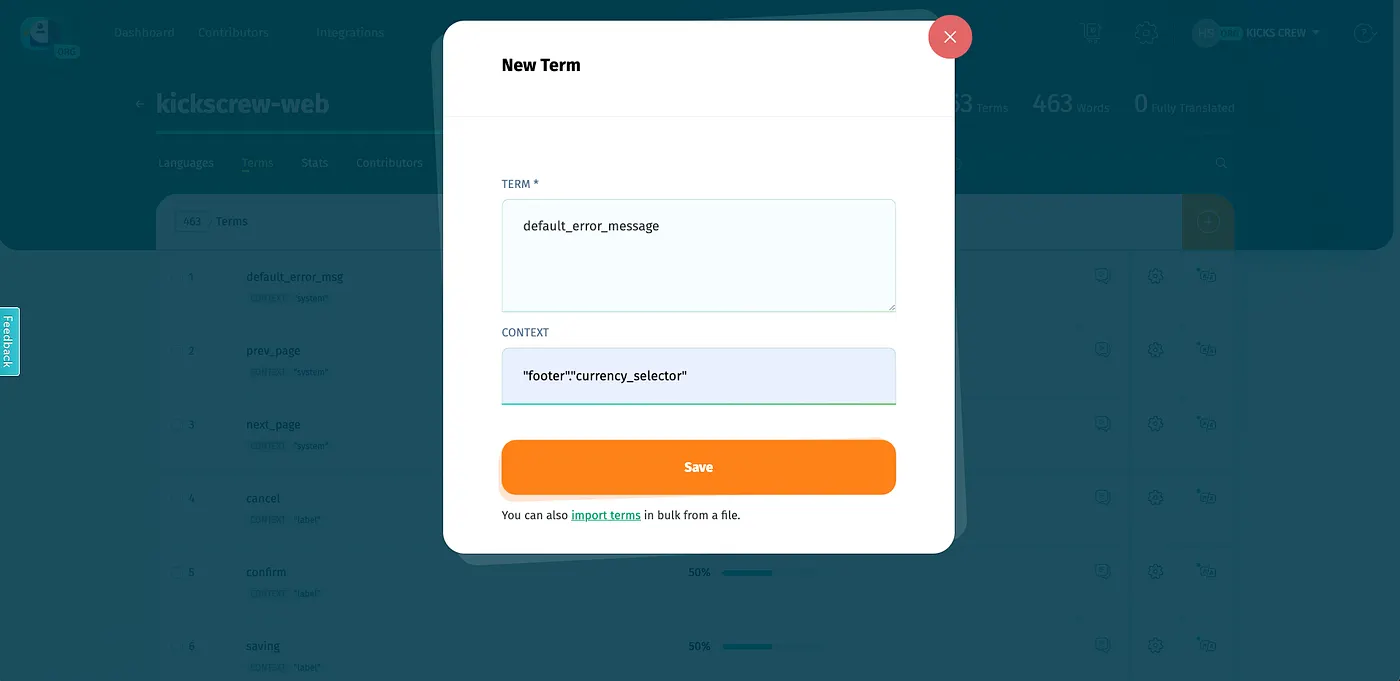
- Step 1: Add a Term
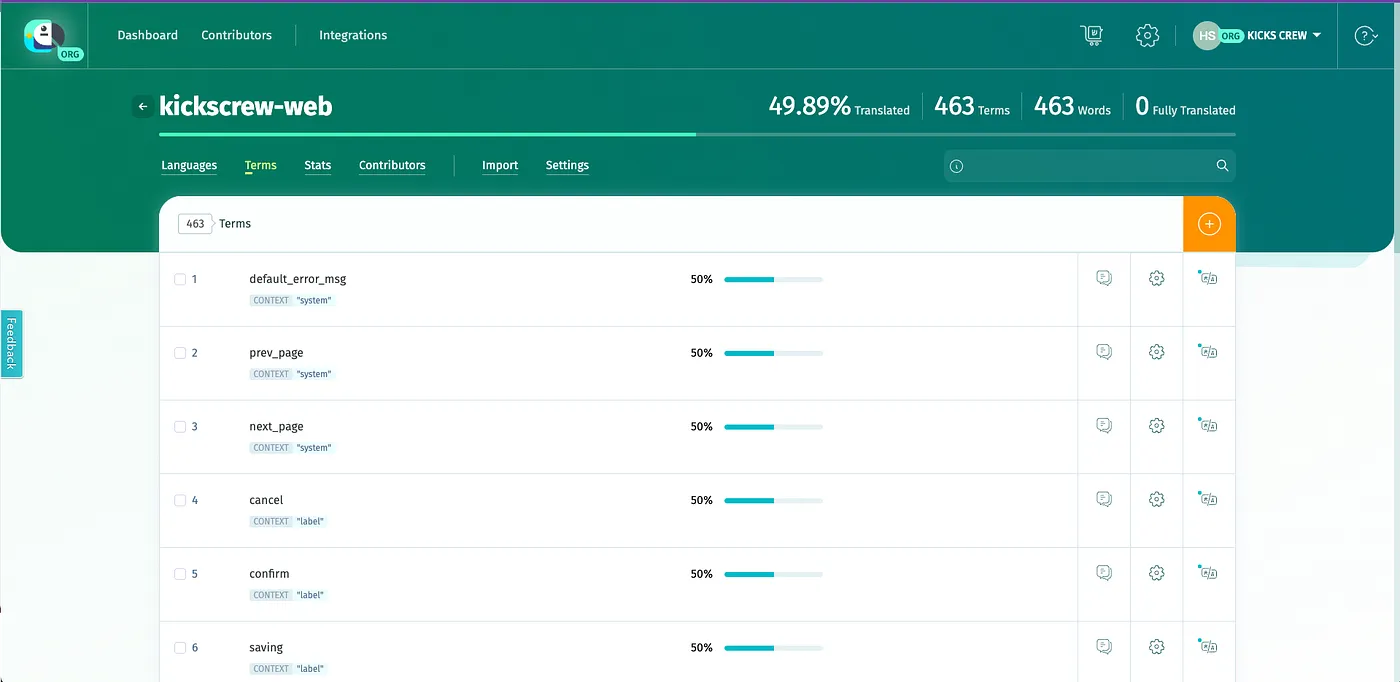
Click on Terms to see all terms and contexts for all languages. When a new term is added here, it will appear across all languages.
Click the + button in the top-right corner to open a window where you can enter a new term and context. The context works like a JSON object structure. Check the screenshot for a better understanding. Be sure to include quotation marks exactly as they are.
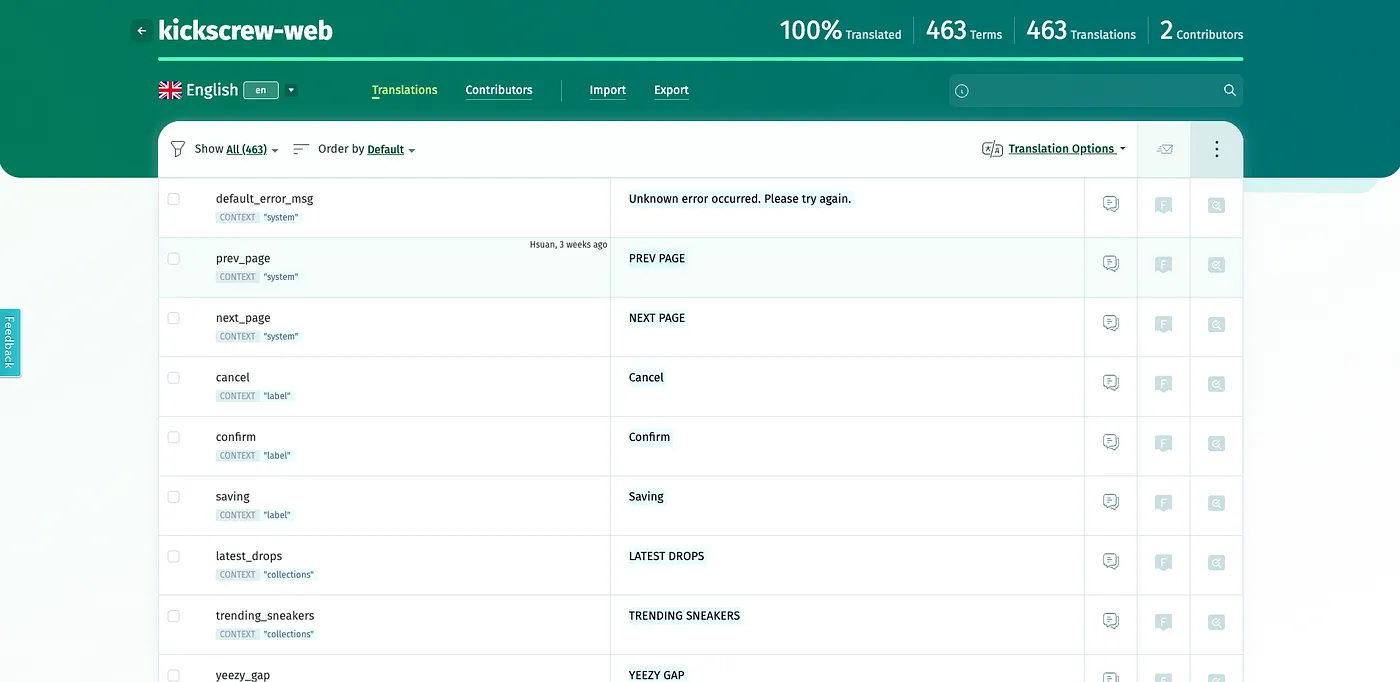
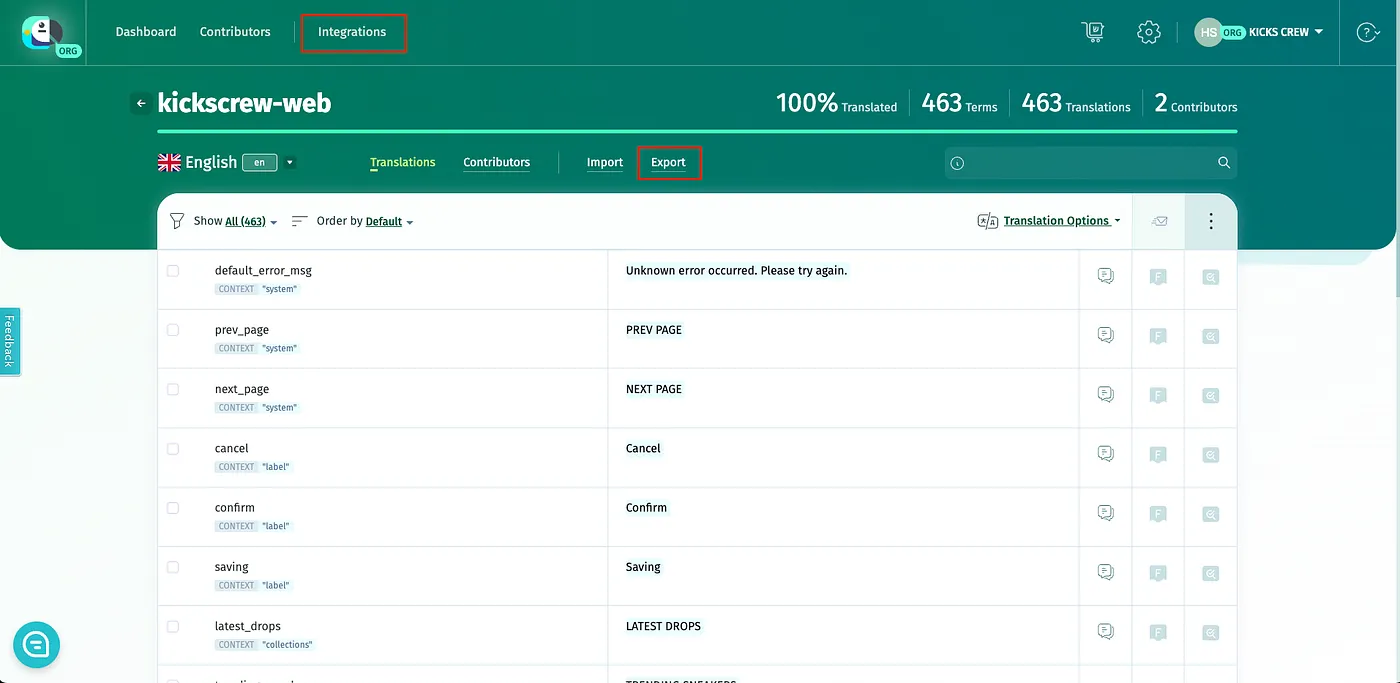
- Step 2: Enter Translations
Now, when you click into each language, you can start entering the translation for that term. The screenshot shows an example of a filled-in translation.
For example, French translations can be handled by another department. They just need to fill in the blank fields with the appropriate translations. No codebase changes are needed.
- Step 3: Export
When you’re ready to save your changes, go to Integrations or Export and choose GitHub as the target — this is because we’ve already integrated with the POEditor branch on GitHub.
(If needed, you can also choose to export .json files separately.)
Select all language files from your web project. This will prepare everything to be pushed to the POEditor branch. Then confidently hit the green "Go" button.
That’s about it for POEditor, let’s take a look at how we organize our Git branches.
POEditor Branch✨
The branch highlighted in red indicates POEditor branch. We maintain a one-way update flow from POEditor to ensure it is dedicated solely to language package updates. Other branches requiring translations can merge from this POEditor branch as needed.
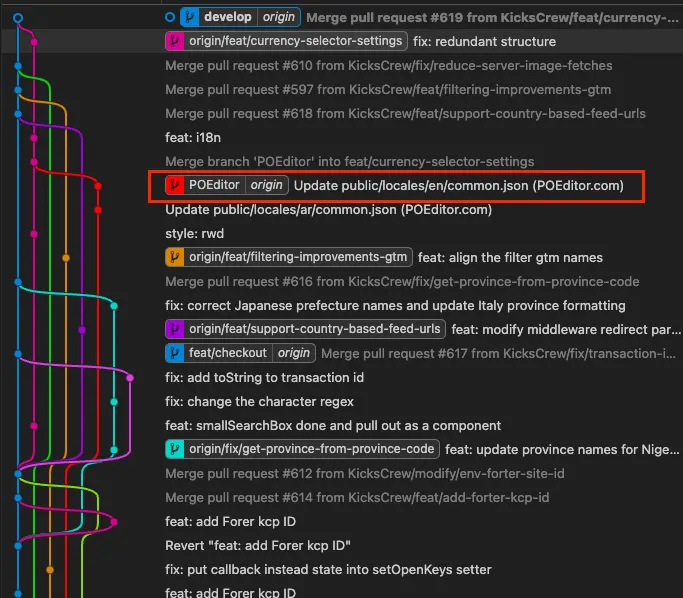
Finally, you can check that all the files inside your locales folder have been updated — these reflect the changes you just made on POEditor. What we’re doing is essentially updating the remote POEditor branch, then pulling those updates locally. This way, it should be easier to understand the flow.